



The Quick Answer
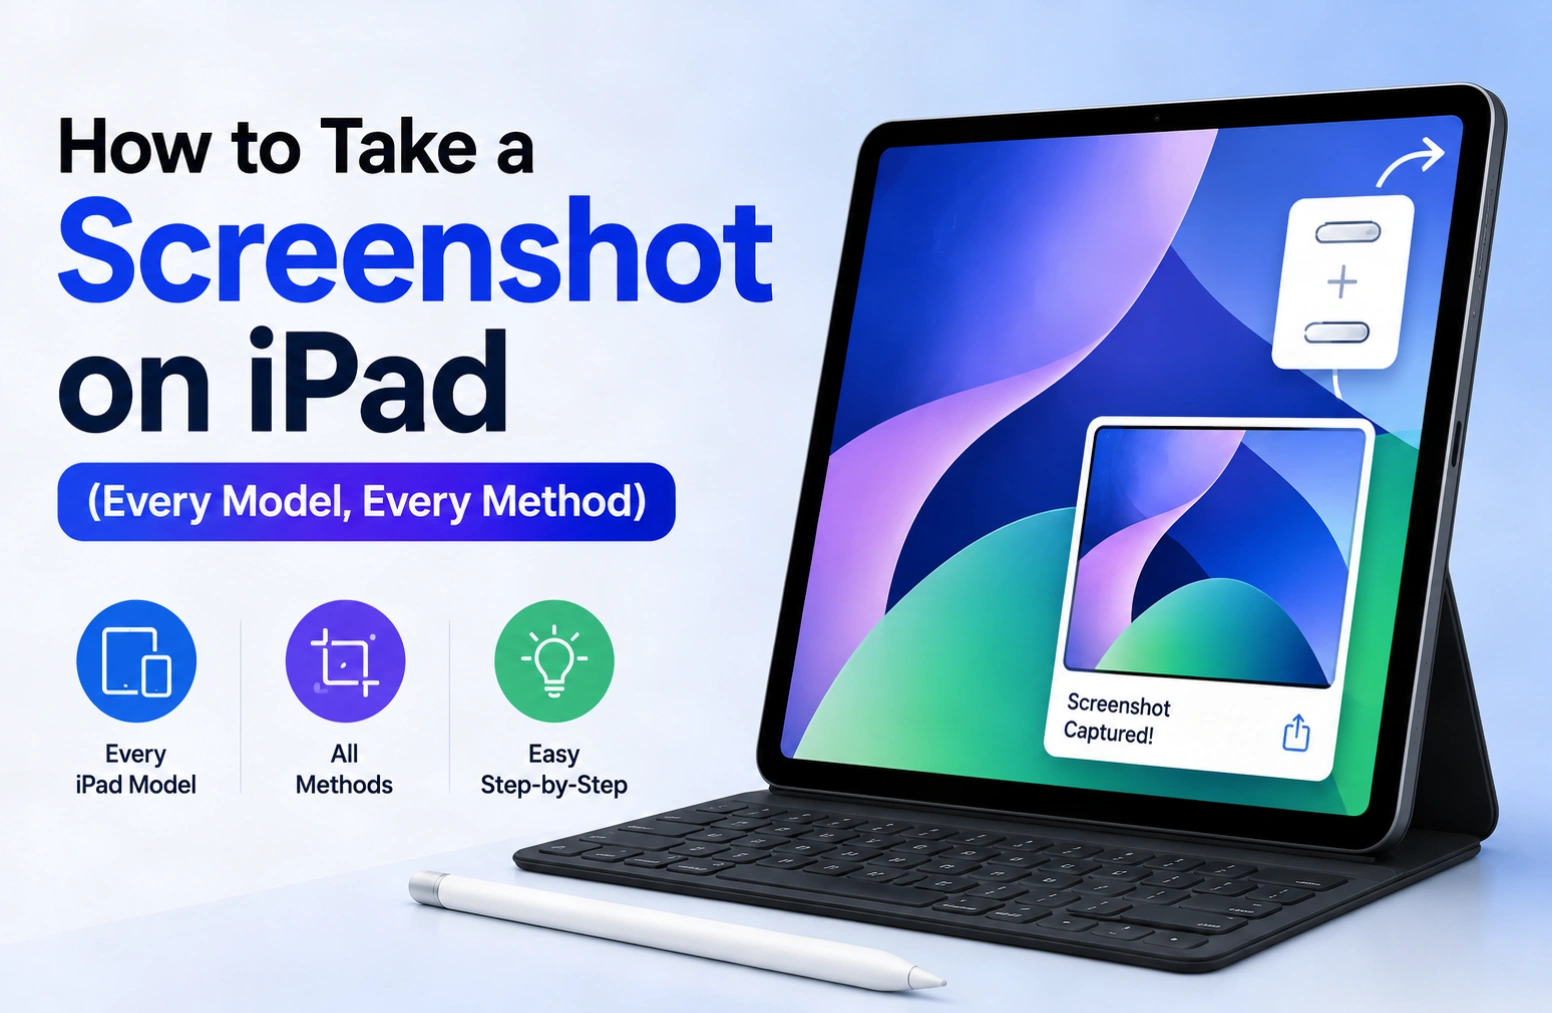
On an iPad without a Home button, press the top button and either volume button at the same time, then release both immediately. On an iPad with a Home button, press the top button and the Home button together instead.
The word that matters in both cases is immediately. These are quick taps, not holds. Hold them and you will get the shutdown slider or Siri rather than a screenshot — which is the single most common reason people think their iPad cannot take one.
A thumbnail slides into the bottom-left corner afterwards. Tap it to edit or share, or swipe it left to dismiss. Either way the image is already saved to Photos.
Every way to screenshot on an iPad
| Your iPad | Do this |
|---|---|
| No Home button (Face ID or Touch ID in the top button) | Top button + either volume button, released at once |
| Has a Home button | Top button + Home button, released at once |
| Using an Apple Pencil | Swipe up diagonally from either bottom corner |
| Using a Magic Keyboard or Smart Keyboard | Cmd + Shift + 3 |
| A button is broken | AssistiveTouch — see below |
| Capturing a long web page | Screenshot, then tap Full Page |
First, work out which iPad you have
The correct button combination depends on one thing only: whether there is a circular Home button below the screen.
No Home button. The screen runs nearly edge to edge. This covers every iPad Pro since 2018, the iPad Air from the fourth generation onwards, the iPad mini from the sixth generation, and the 10th-generation iPad. Some of these unlock with Face ID and others with Touch ID built into the top button — for screenshots it makes no difference.
Home button present. A physical circular button sits below the display. This covers the 9th-generation iPad and everything older.
The top button is the one on the upper edge that locks the screen. Apple calls it the top button on iPad rather than the side button, because on most iPads it genuinely is on the top edge when the device is held upright.
iPads without a Home button
- Get the screen showing exactly what you want to capture.
- Press the top button and either volume button at the same moment.
- Release both straight away.
- The screen flashes white and you hear a shutter sound if the iPad is not muted.
- A thumbnail appears in the bottom-left corner for a few seconds.
Either volume button works — up or down. You do not need to reach for a specific one, which is helpful given the volume buttons sit on a different edge depending on how you are holding the iPad.
The timing is what people get wrong. Both buttons must go down together and come up together. Press one slightly early and you will change the volume; hold both down and you will summon the power-off slider.
iPads with a Home button
- Set up the screen you want.
- Press the top button and the Home button at the same moment.
- Release both immediately.
Hold the Home button too long and you will trigger Siri instead. On older iPads with a worn Home button this can take a few attempts, which is a good reason to know the AssistiveTouch method further down.
Using an Apple Pencil
If you have an Apple Pencil paired, you do not need to touch the buttons at all.
Swipe up diagonally from either bottom corner of the screen with the Pencil tip.
The screenshot is captured and opens straight into Markup, ready to annotate. This is genuinely the fastest method on iPad, and it is the one most Pencil owners never discover. If you annotate screenshots regularly — marking up a design, correcting a document, circling something on a chart — this turns a three-step process into one gesture.
The swipe must start right at the very corner and move diagonally inwards. Starting even a centimetre in will scroll the page instead.
Using a keyboard
With a Magic Keyboard, Smart Keyboard Folio, or any Bluetooth keyboard attached, iPadOS supports the same shortcut Macs use:
- Cmd + Shift + 3 — captures the whole screen
- Cmd + Shift + 4 — captures the screen and opens it directly in Markup
This is the most practical option when the iPad is docked in a keyboard case and propped up on a desk, because reaching around to squeeze two buttons on the edge tends to rock the whole thing.
When a button is broken
Physical buttons fail, and on an older iPad a dead Home button can make screenshots feel impossible. AssistiveTouch solves this by putting a software button on screen.
- Open Settings → Accessibility → Touch → AssistiveTouch and switch it on. A small translucent circle appears on screen.
- Still in that screen, choose Customize Top Level Menu, or set one of the Single-Tap, Double-Tap or Long Press actions.
- Assign Screenshot to whichever action you prefer.
- Tap the on-screen circle to capture.
The AssistiveTouch button does not appear in the screenshot itself, so your captures stay clean. Worth setting up even on a healthy iPad if you take a lot of screenshots one-handed.
Capturing a whole web page
A normal screenshot captures only what is visible. iPadOS can capture an entire scrolling page as a single file, which is far more useful for saving an article, a receipt, or a long form.
- In Safari, open the page you want.
- Take a screenshot using any method above.
- Tap the thumbnail in the bottom-left corner before it disappears.
- At the top of the editor, tap the Full Page tab.
- The whole page appears with a scrollable preview strip down the right side.
- Tap Done, then choose Save PDF to Files.
There is an important limitation here. A Full Page capture saves as a PDF into the Files app, not as an image into Photos. People routinely take a full-page screenshot, then go looking for it in their camera roll and conclude it failed. It is in Files, wherever you chose to put it.
Full Page works reliably in Safari. Support in other apps is inconsistent — Mail and Notes generally offer it, most third-party apps do not, and if the Full Page tab is missing then that app simply does not support it.
Where iPad screenshots are saved
Standard screenshots go to the Photos app, and iPadOS files them automatically into a Screenshots album alongside your other media.
Two consequences worth knowing:
They sync everywhere. With iCloud Photos on, every screenshot appears on your iPhone and Mac within moments. Convenient, but it means a screenshot of a password or a bank balance is now on every device you own. If you share an Apple ID with family, check what is syncing before capturing anything sensitive.
They consume iCloud storage. Screenshots are full-resolution PNG files and are larger than photographs of the same dimensions, because sharp text and flat colour compress differently to a camera image. On a 5 GB free iCloud plan, a habit of screenshotting fills the quota faster than most people expect. Clearing the Screenshots album is one of the quickest ways to recover space.
If you capture screenshots as part of your work rather than occasionally, the organisational principles in our guide to digital asset management apply directly — an unsorted Screenshots album is the same problem as an unsorted media library, just smaller.
Editing and sharing
Tapping the thumbnail opens Markup, where you can crop with the corner handles, draw with the pen tools, add text, and drop in shapes or a signature. Tap Done to save the edited version or discard it.
Let the thumbnail fade on its own and the screenshot is saved unedited. Nothing is lost by ignoring it.
You can also delete immediately: tap the thumbnail, then the bin icon. Useful when you have taken a screenshot by accident, which happens often on iPads with a Home button.
To move a screenshot to a Mac, AirDrop is faster than syncing and does not touch iCloud. It works between any modern iPad and Mac, including desktops like the iMac Pro i7 4K. If you need the image as text for a web page or email template instead of a file, a Base64 code converter will encode it for you.
When it does not work
Nothing happens when I press the buttons
You are almost certainly holding them rather than tapping. Press and release in one quick motion. If the power slider appears, you held too long; if the volume changed, one button went down before the other.
The screenshot is black
An app is blocking it. Streaming services and banking apps deliberately prevent capture of DRM-protected or sensitive content, and produce a black rectangle instead. This is enforced by the app and there is no setting that overrides it.
I cannot find my Full Page screenshot
It was saved as a PDF in the Files app, not as an image in Photos. Open Files and check the location you selected when saving.
The thumbnail disappears too fast
It stays for around five seconds. If you keep missing it, take the screenshot and then open Photos directly — nothing is lost, since the image is saved regardless of whether you interact with the thumbnail.
The Apple Pencil gesture does nothing
Confirm the Pencil is paired and charged, then check Settings → Apple Pencil and make sure the corner swipe gestures are enabled. Also start the swipe from the extreme corner: beginning a little way inside the edge scrolls the page instead.
My iPad has no sound when capturing
The shutter sound follows the ringer switch and volume. A silent capture still works — the flash and the thumbnail confirm it. On a muted iPad this is normal behaviour, not a fault.
Frequently asked questions
How do I take a screenshot on an iPad without a Home button?
Press the top button and either volume button at the same time, then release both immediately. This applies to all iPad Pro models since 2018, iPad Air from the fourth generation, iPad mini from the sixth generation, and the 10th-generation iPad.
How do I take a screenshot on an older iPad?
On any iPad with a circular Home button, press the top button and the Home button together and release them straight away. Holding the Home button too long activates Siri instead.
Where do iPad screenshots go?
Into the Photos app, in an album called Screenshots. Full Page screenshots are the exception: those save as PDF files into the Files app instead.
Can I take a screenshot on iPad without pressing buttons?
Yes, three ways. Swipe up diagonally from a bottom corner with an Apple Pencil; press Cmd + Shift + 3 on an attached keyboard; or enable AssistiveTouch in Settings → Accessibility → Touch and assign Screenshot to the on-screen button.
How do I take a scrolling screenshot on an iPad?
Take a normal screenshot in Safari, tap the thumbnail, then select the Full Page tab at the top of the editor. Tap Done and choose Save PDF to Files. It captures the entire page rather than just the visible portion.
Why is my iPad screenshot black?
The app you captured blocks screenshots. Video streaming services and banking apps do this deliberately to protect DRM-protected content and account information. No iPad setting can override it.
Does the other person know if I screenshot?
Not for ordinary apps or web pages. Some services do notify — disappearing photos and videos in Snapchat and Instagram, and disappearing messages in a few messaging apps. Regular Instagram posts, stories, and standard iMessages do not trigger a notification.
How do I stop screenshots filling my iCloud storage?
Open Photos, select the Screenshots album, and delete what you no longer need, then empty Recently Deleted to reclaim the space. To keep screenshots off iCloud entirely, turn off iCloud Photos in Settings, though that affects your whole photo library rather than screenshots alone.
Related guides
This page is part of our wider guide on how to take a screenshot on any device, covering Windows, Mac, Linux, and Android. Moving between platforms? Our Chromebook screenshot guide explains the Show windows key, which catches out anyone arriving from a Windows or Mac keyboard.
For more on iPadOS itself, the iOS 16.4 emoji changelog covers what Apple changed in the shared iOS and iPadOS release. If you use an attached keyboard and find shortcuts behaving oddly, Sticky Keys is the accessibility feature most likely to be responsible when the same keyboard is shared with a Windows PC.
Screenshots are increasingly handled by browser-based tools rather than installed software — our explainer on web applications covers why, and if annotation and transcription are part of your routine, several of the best AI tools for productivity now do it automatically.


