
In today’s digital world, knowing how to take a screenshot is an essential skill. Whether you’re saving an important document, capturing an error message, or sharing a funny conversation, screenshots make life easier. In this guide, we’ll walk you through five different methods for taking a screenshot on Windows, Mac, Linux, Android, and iOS/iPad devices. Let’s dive in!
How to Take a Screenshot on Windows
Taking a screenshot on Windows is simple and can be done in multiple ways, depending on your needs. Whether you want to capture the entire screen, a specific window, or a custom-selected area, Windows provides built-in tools and shortcuts to make the process easy. You can use the Print Screen (PrtScn) key, Snipping Tool, Windows + Shift + S shortcut, or even the Xbox Game Bar for capturing screenshots. Screenshots can be copied to the clipboard or saved directly to your device. These options allow users to efficiently capture and share images without using third-party software.
Windows provides multiple ways to capture your screen, from using built-in tools to third-party applications. Here are five easy methods:
Method 1. Using the Print Screen (PrtScn) Key
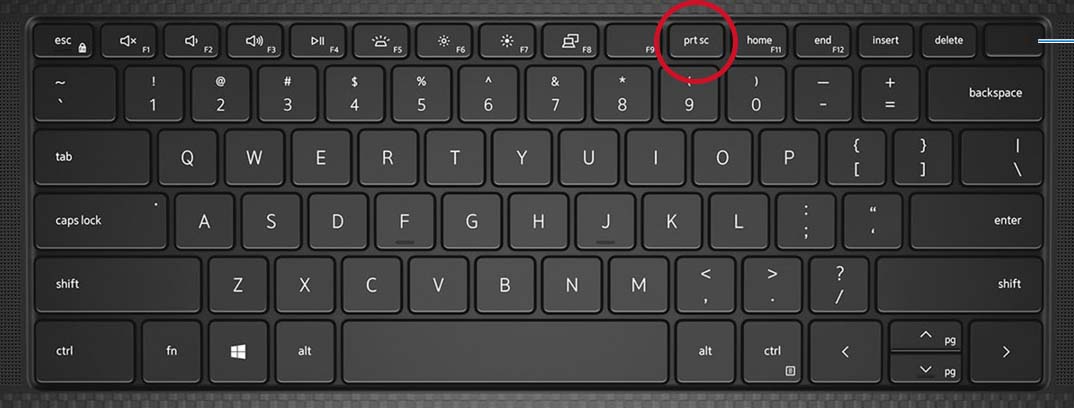
- Press the
PrtScnkey on your keyboard. - The screenshot is copied to the clipboard.
- Open an image editor (e.g., Paint, Photoshop, or Word).
- Press
Ctrl + Vto paste the screenshot. - Save the file as PNG or JPEG.
Note: Some laptop keyboards may not have a separate Print Screen key. In this case, you can perform the Print Screen function by pressing and holding down the Fn + Insert keys together.
Method 2. Using Windows + Shift + S (Snipping Tool)

- Press
Windows + Shift + S. - The screen dims, and a snipping menu appears.
- Select the desired portion of the screen to capture.
- The screenshot is copied to the clipboard.
- Paste and save it in an image editor.
Method 3. Using Windows + PrtScn
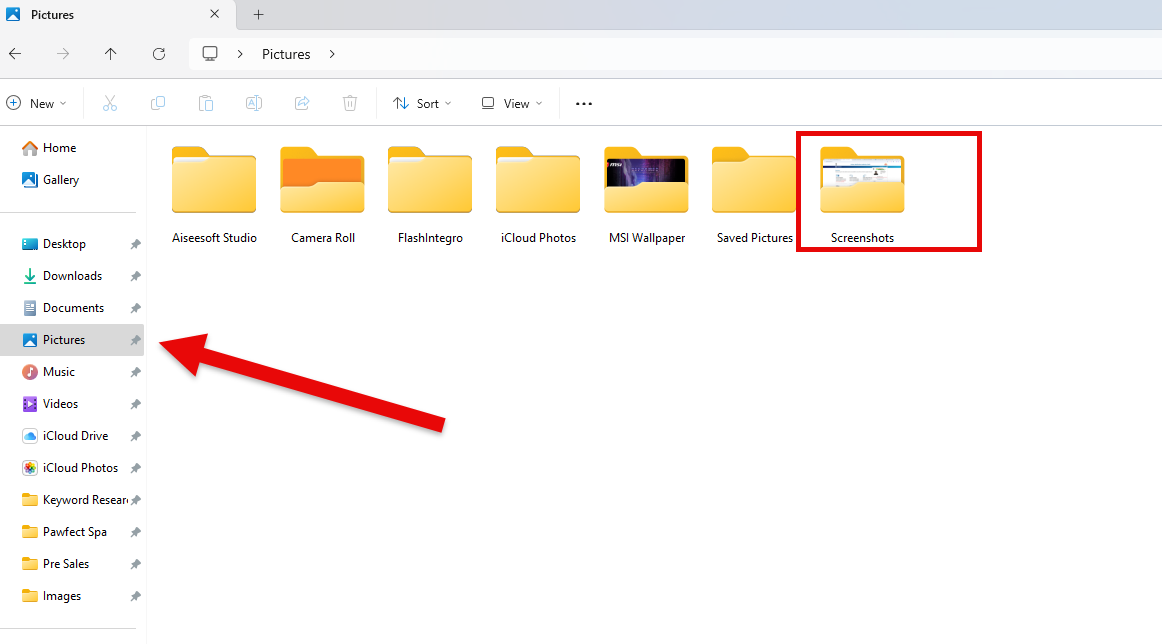
- Press
Windows + PrtScntogether. - The screen dims for a second.
- The screenshot is automatically saved in
Pictures > Screenshots.
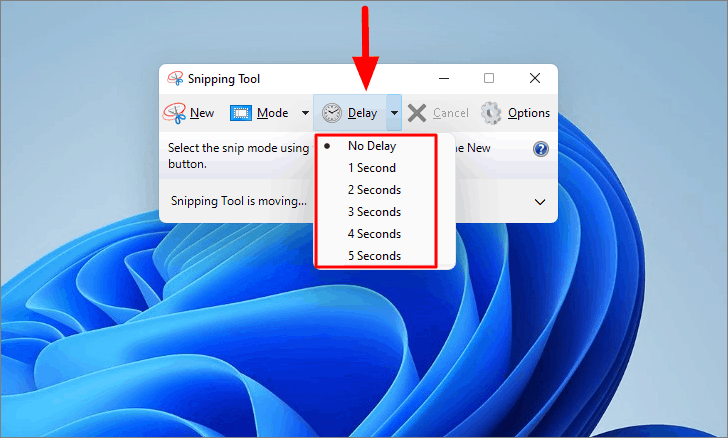
Method 4. Using the Snipping Tool
- Open the Snipping Tool (search in Start Menu).
- Click
Newand select the area to capture. - Edit and save the screenshot as needed.
Method 5. Using Xbox Game Bar (For Gaming)
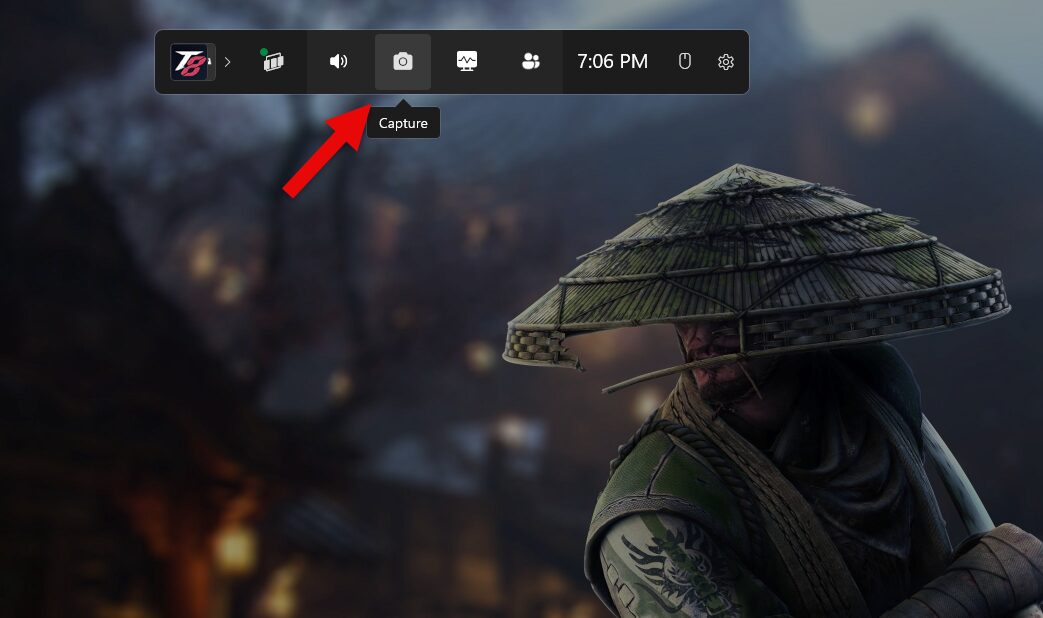
- Press
Windows + Gto open the Game Bar. - Click on the camera icon or press
Windows + Alt + PrtScn. - Screenshots are saved in
Videos > Captures.
How to Take a Screenshot on Mac
Taking a screenshot on a Mac is quick and easy, with multiple built-in options to capture your screen. Whether you need to capture the entire display, a specific window, or just a portion of the screen, macOS provides intuitive keyboard shortcuts and tools. Screenshots are automatically saved to the desktop or clipboard, depending on your preferences. Additionally, macOS offers advanced features, such as the Screenshot app, allowing users to record screen activity or set timers for capturing images. With these tools, Mac users can efficiently save and share important content without needing third-party applications or complex software.
Mac users have built-in keyboard shortcuts and apps for easy screen capturing.
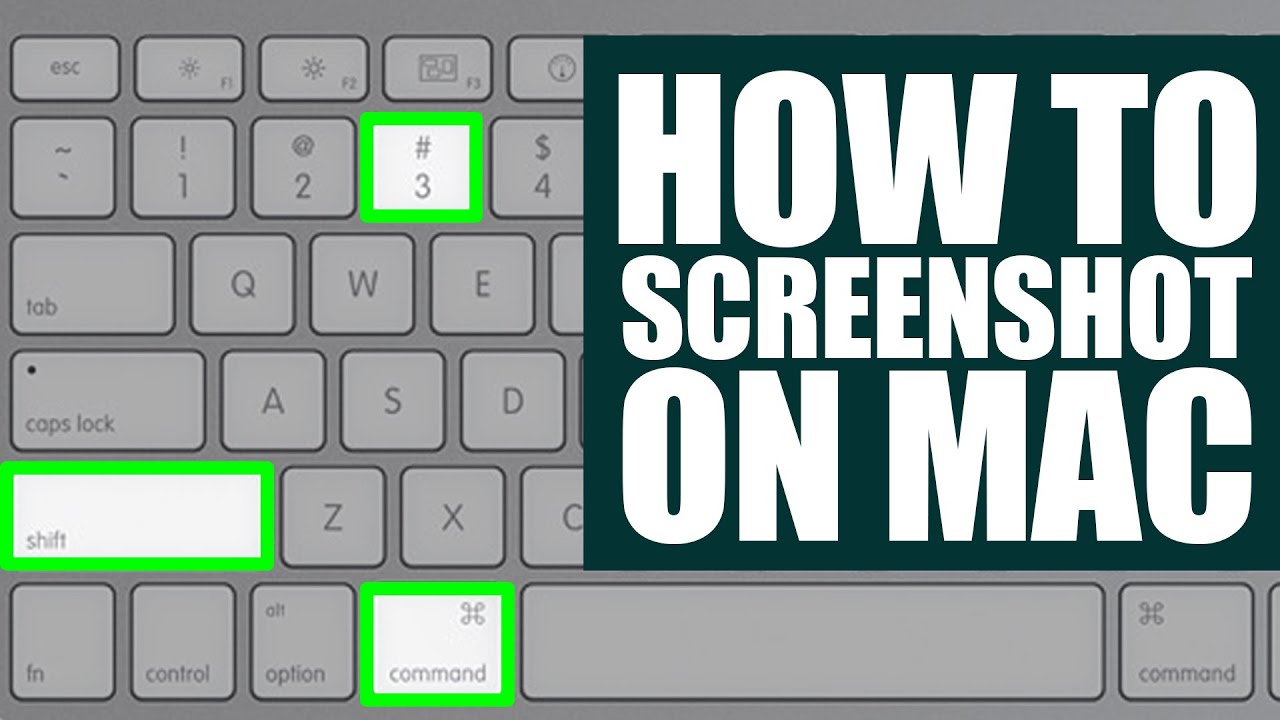
Method 1. Capture Entire Screen
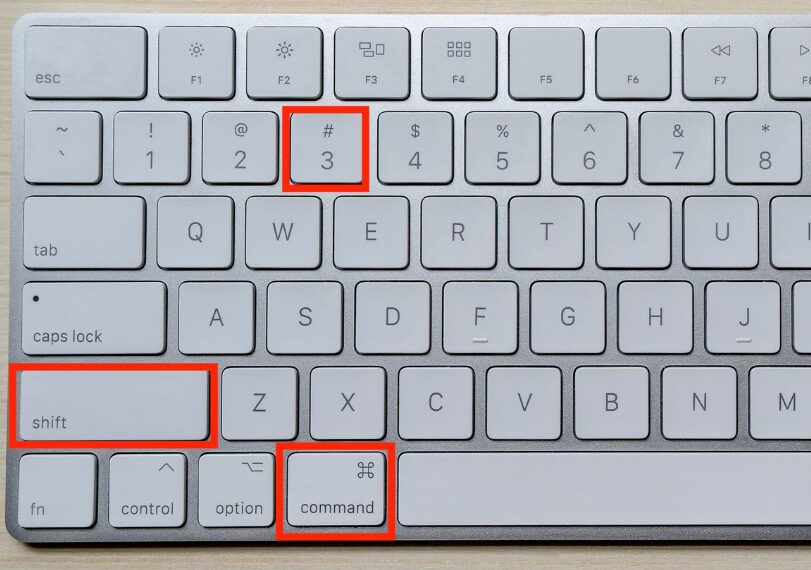
- Press
Command + Shift + 3. - The screenshot is saved on the desktop.
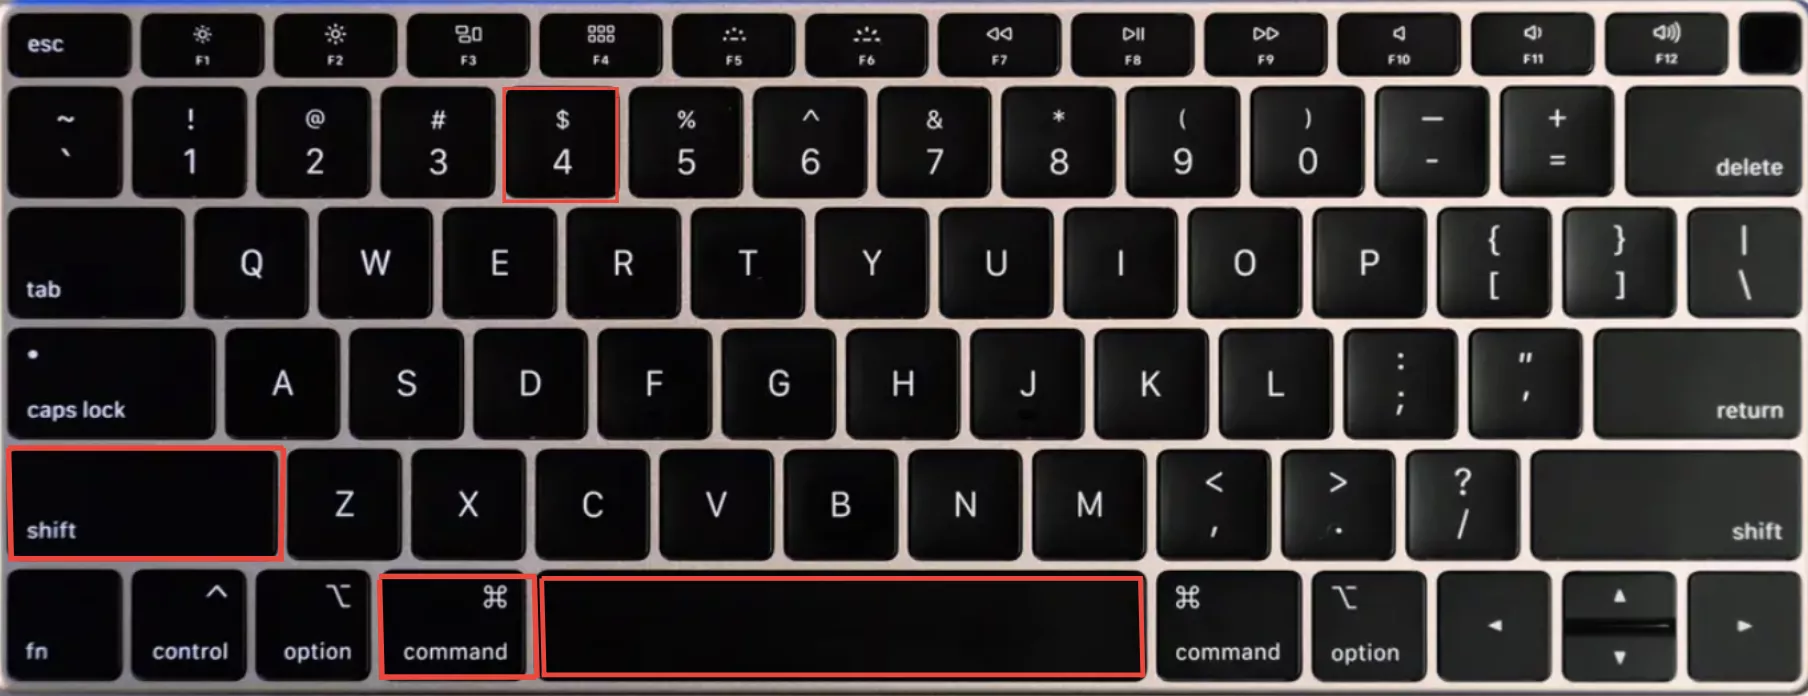
Method 2. Capture a Selected Area
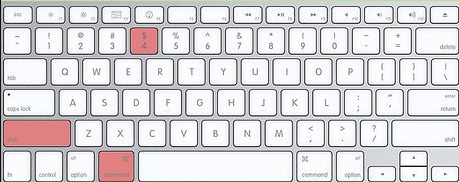
- Press
Command + Shift + 4. - Drag to select the desired area.
- Release to take the screenshot.
- The file is saved on the desktop.
Method 3. Capture a Specific Window
- Press
Command + Shift + 4 + Spacebar. - Click on the window you want to capture.
- The image is saved as a PNG on the desktop.
Method 4. Using Screenshot App (For macOS Mojave & Later)
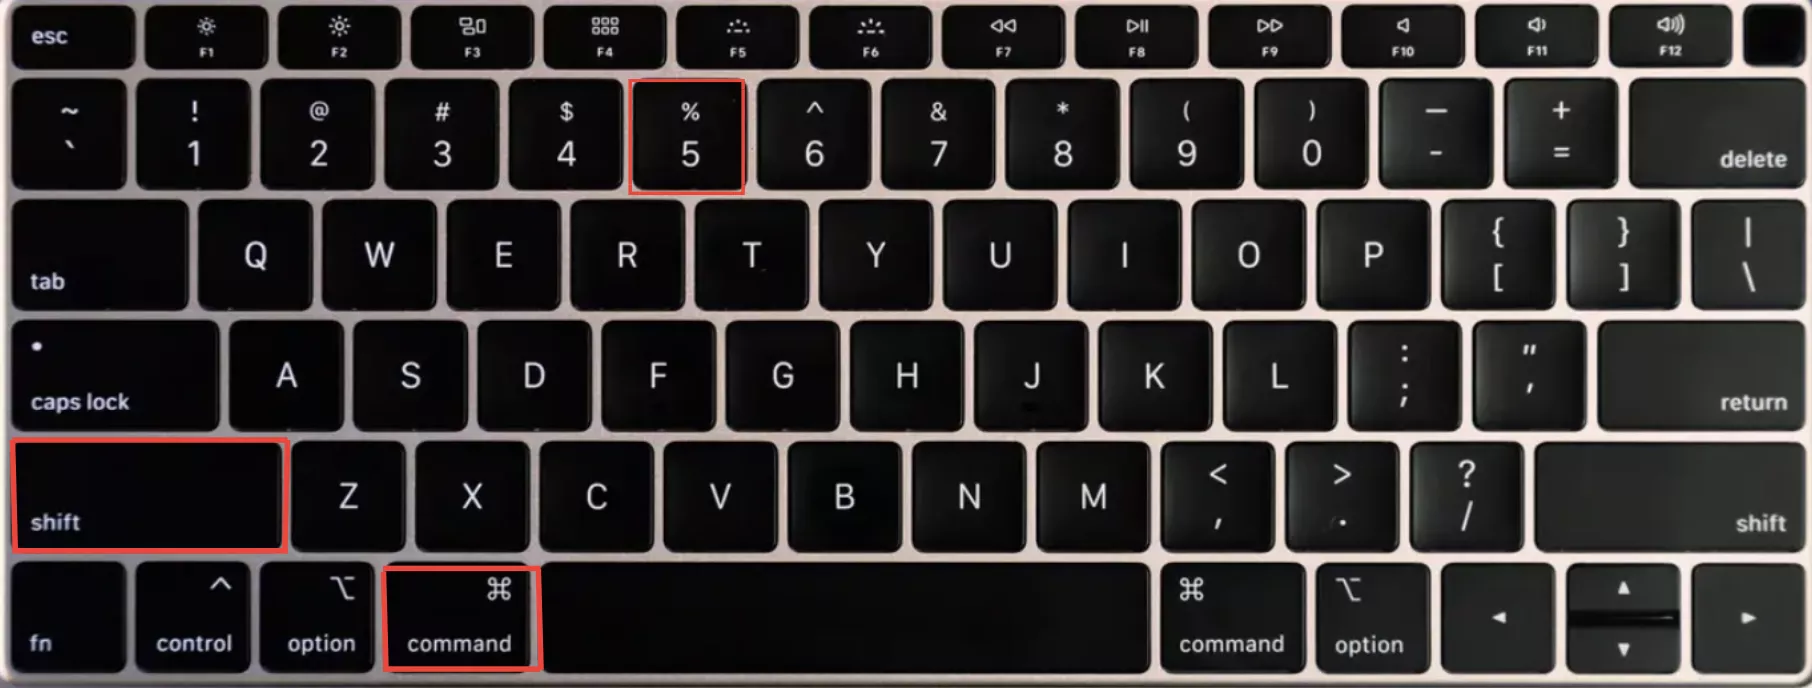
- Press
Command + Shift + 5. - Choose from different capture options.
- Click
Captureto save the screenshot.
Method 5. Using Preview App

- Open Preview.
- Click
File > Take Screenshot. - Choose from
From Selection,From Window, orFrom Entire Screen. - Save the image as needed.

How to Take a Screenshot on Linux
Taking a screenshot on Linux is straightforward, with various built-in and third-party tools available. Depending on your Linux distribution and desktop environment, you can capture the entire screen, a specific window, or a selected area using different methods. The Print Screen (PrtScn) key allows quick full-screen captures, while Shift + PrtScn lets you select a portion of the screen. The GNOME Screenshot Tool and third-party apps like Flameshot provide advanced editing and annotation features. Screenshots are usually saved in the Pictures folder by default, making it easy for users to access and share their captured images.
Linux users have various tools to capture the screen, depending on the distribution.
Method 1. Using Print Screen (PrtSc)
- Press
PrtScto capture the whole screen. - The image is saved in the
Picturesfolder.
Method 2. Capture a Specific Area
- Press
Shift + PrtSc. - Select the area you want to capture.
- The image is saved automatically.
Method 3. Capture a Specific Window
- Press
Alt + PrtSc. - This captures only the active window.
- The file is saved in the
Picturesfolder.
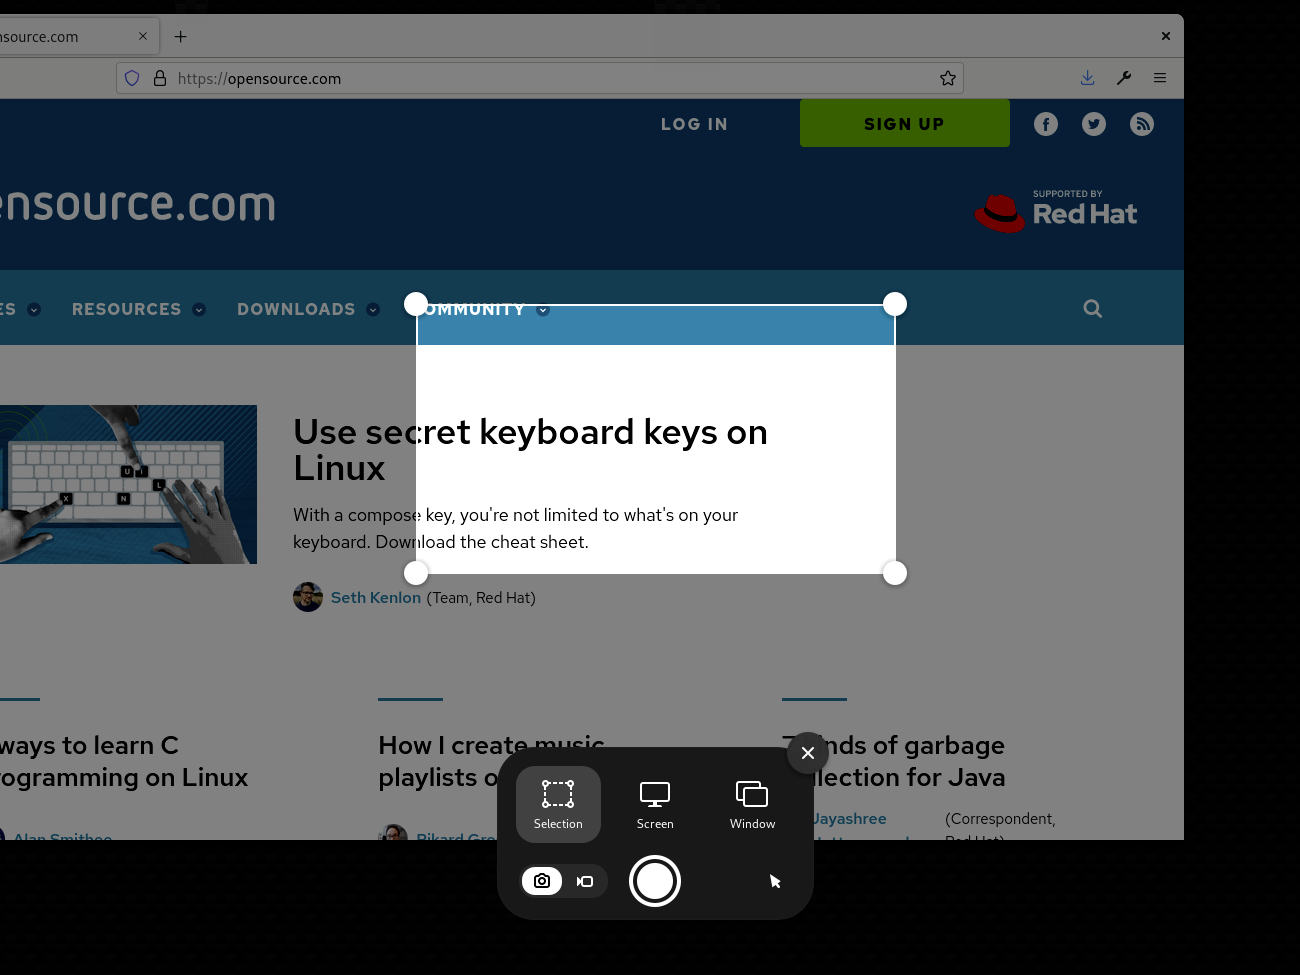
Method 4. Using the GNOME Screenshot Tool

- Open
Screenshotfrom the Applications menu. - Choose to capture the full screen, a window, or a selection.
- Save the file.
Method 5. Using Flameshot (For Advanced Users)
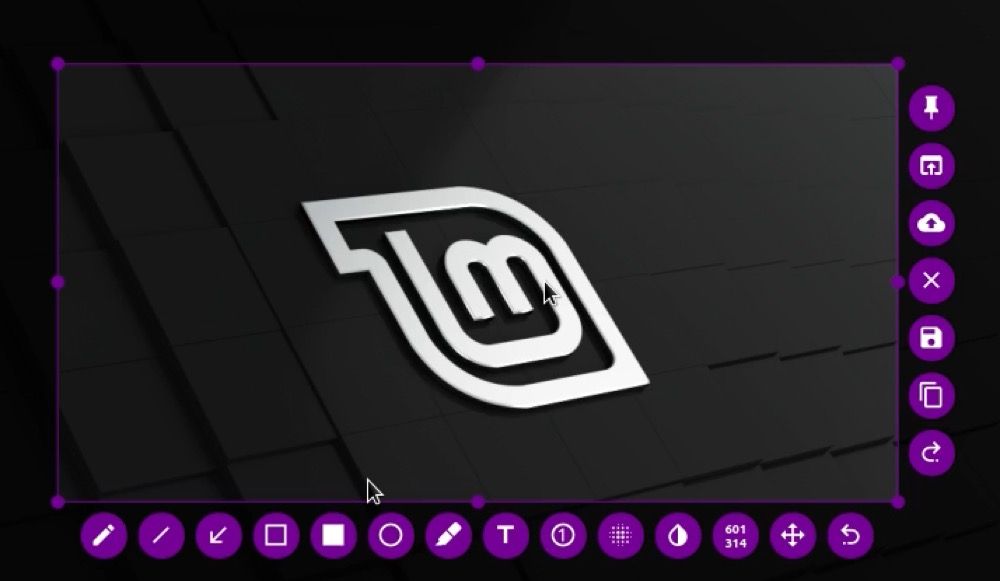
- Install
Flameshot(sudo apt install flameshot). - Run
flameshot gui. - Select and capture the desired area.
- Edit and save the screenshot.
How to Take a Screenshot on Android
Taking a screenshot on an Android device is simple, with multiple methods available depending on your phone model and software version. Whether you want to capture an entire screen, a specific app, or a scrolling page, Android provides various built-in tools to help.
Method 1. Using Power + Volume Down Buttons
- Press
Power + Volume Downsimultaneously. - The screen flashes, indicating a successful capture.
- Find the screenshot in
Gallery > Screenshots.
Method 2. Using Three-Finger Gesture (For Some Devices)
- Swipe down with three fingers.
- The screenshot is captured automatically.
Method 3. Using Google Assistant
- Say, “Hey Google, take a screenshot.”
- The assistant captures the screen and provides sharing options.
Method 4. Using Quick Settings
- Swipe down to open Quick Settings.
- Tap the
Screenshotbutton.
Method 5. Using Third-Party Apps
- Download apps like Screenshot Easy or Screen Master from Google Play Store.
- Follow in-app instructions to capture screenshots.
How to Take a Screenshot on iOS/iPhone/iPad
Taking a screenshot on an iPhone, iPad, or any iOS device is quick and effortless, thanks to built-in features designed for seamless screen capturing. Whether you want to save an important message, share a high score, or capture a webpage, iOS offers multiple ways to take screenshots without the need for third-party apps. Screenshots are automatically saved in the Photos app under the Screenshots album, making them easy to access, edit, and share. With additional features like markup tools and AssistiveTouch, Apple devices provide a user-friendly experience for capturing and customizing screenshots efficiently.
Apple devices also provide multiple ways to capture the screen.
Method 1. Using Side + Volume Up Buttons (iPhone X & Later)
- Press
Side + Volume Uptogether. - The screen flashes, and the screenshot is saved.
- Find it in
Photos > Screenshots.
Method 2. Using Home + Power Button (Older iPhones & iPads)
- Press
Home + Powertogether. - The screenshot is saved in Photos.
Method 3. Using AssistiveTouch
- Enable
AssistiveTouchfromSettings > Accessibility. - Tap
AssistiveTouch > Device > More > Screenshot.
Method 4. Using Apple Pencil (For iPads)
- Swipe up from the bottom corner using an Apple Pencil.
- The screenshot is captured.
Method 5. Using Siri
- Activate Siri and say, “Take a screenshot.”
- The screenshot is taken and saved automatically.
Complete Video Tutorial to take Screenshot on any devices (Mac, Windows, Android, iOS & Linux)
Watch our complete video tutorial to learn how to take a screenshot on any device, including Mac, Windows, Android, iOS, and Linux. This step-by-step guide covers multiple methods for capturing your screen, from simple keyboard shortcuts to advanced tools. Whether you need to grab the entire screen, a specific window, or a custom-selected area, this tutorial will help you do it effortlessly. Perfect for beginners and advanced users, the video walks you through each method visually, ensuring you can follow along easily. Don’t miss out—watch now and master screenshot-taking on any platform!
Final Thoughts
Now that you know how to take a screenshot on Windows, Mac, Linux, Android, and iOS, capturing your screen should be a breeze! Whether you’re troubleshooting an issue, saving important information, or sharing something cool, these methods will ensure you’re covered across all devices.
Looking for more tech guides? Stay tuned for more helpful content!