


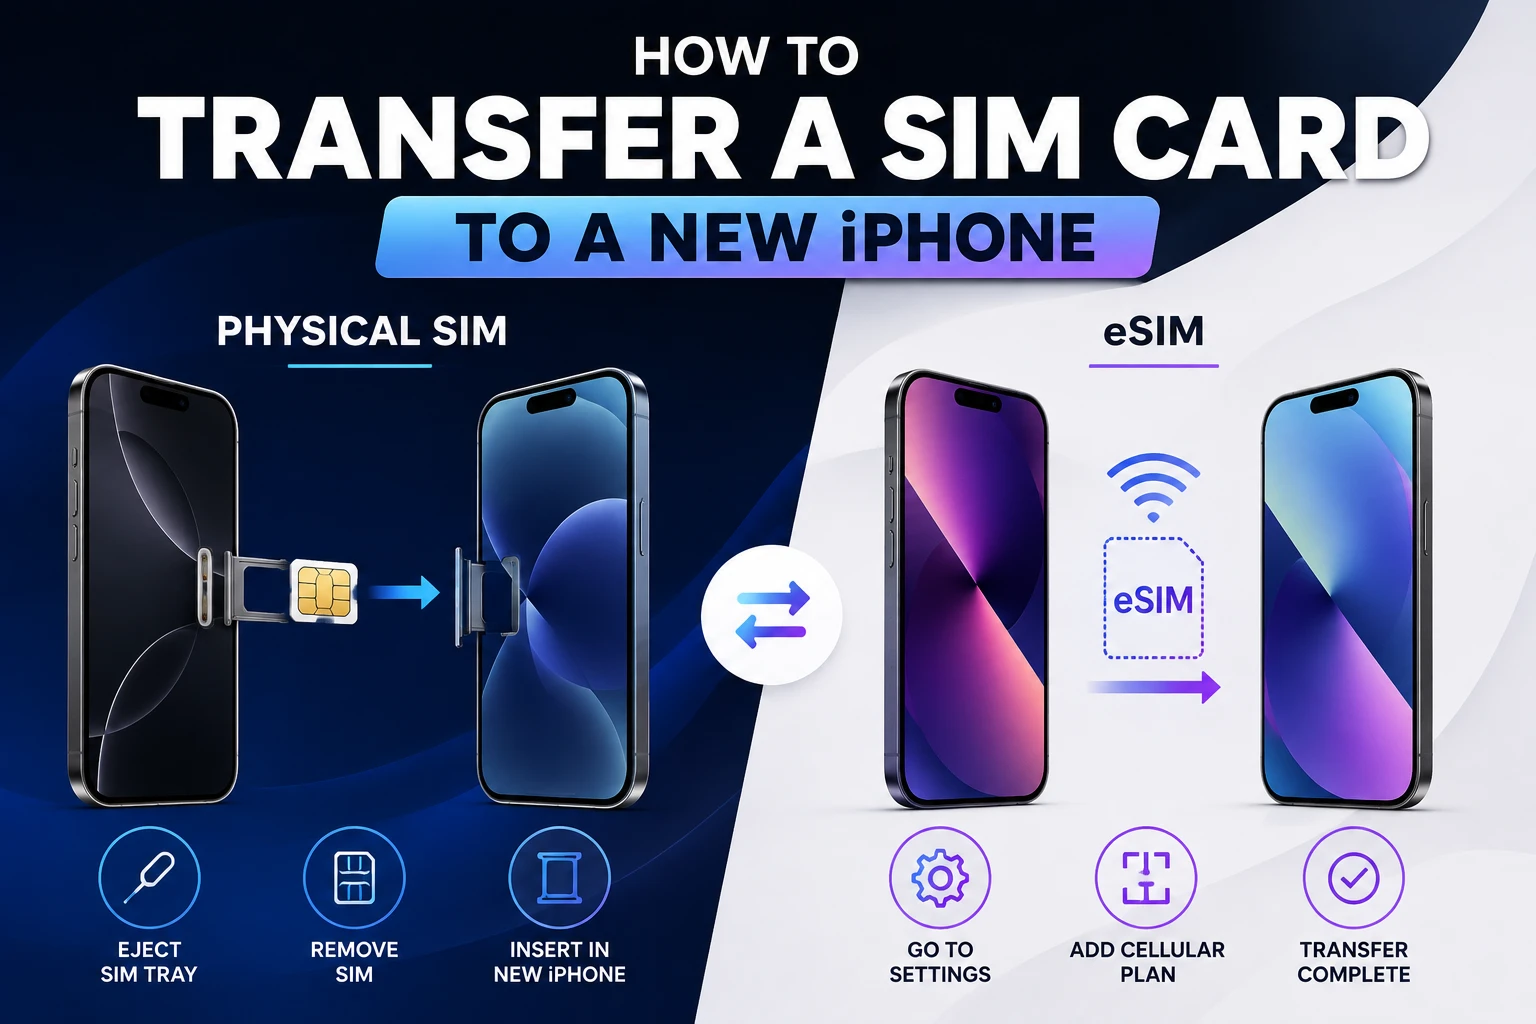
If both iPhones have a SIM tray, move the nano-SIM across with a paper clip and you are done. If either phone is eSIM-only — every iPhone 14 and later sold in the US — use eSIM Quick Transfer instead: Settings > Cellular > Add eSIM > Transfer From Nearby iPhone. Quick Transfer moves your number without contacting the carrier at all.
Which route applies depends entirely on the hardware, and getting that wrong is why people end up on hold with support. Below are both methods, taken from Apple’s eSIM setup documentation, plus what to do when your old phone is already dead.
First: which kind of transfer is yours?
| Old iPhone | New iPhone | What to do |
|---|---|---|
| Has SIM tray | Has SIM tray | Move the nano-SIM physically |
| Has SIM tray | eSIM only | eSIM Quick Transfer, or carrier conversion |
| eSIM | eSIM only | eSIM Quick Transfer |
| Android | Any iPhone | Contact carrier — or Android-to-iPhone eSIM transfer on iOS 26 |
Apple lists iPhone 14, 15, 16 and 17 family models purchased in the United States as eSIM only, with no SIM tray. The same models bought elsewhere keep a nano-SIM tray. So a US buyer upgrading from an iPhone 13 is almost always in row two: physical SIM out, eSIM in. Our guide to which iPhones have eSIM has the full model list if you are unsure.
Method 1: move the physical nano-SIM
Only possible when both phones have trays. Apple’s documented procedure:
- Power down is not required, but it makes the swap cleaner.
- Insert a paper clip or SIM-eject tool into the hole beside the tray. Push in, towards the iPhone — do not force it.
- Remove the SIM from the old tray and place it in the new phone’s tray. Note the notch in one corner: the card fits only one way.
- Insert the tray completely, in the same orientation you removed it. The tray also fits only one way.
- Wait for the carrier name to appear in the status bar, then place a test call.
Tray positions differ by model. Apple puts iPhone 12 through iPhone 17 trays on the left side, and iPhone 11, XR, XS, X, SE and older on the right side. Use only the tray that came with each device — trays are not interchangeable between models.
If the old card is too large for the new phone, do not cut it. Apple warns that a modified SIM might prevent connection to cellular networks, and that any resulting damage is not covered by the hardware warranty. Ask the carrier for a correctly sized nano-SIM.
Method 2: eSIM Quick Transfer
This is the modern path and the one most US upgrades need. It moves the number directly between two iPhones — Apple’s wording is that if your carrier supports eSIM Quick Transfer, you can transfer the SIM from your previous iPhone to your new iPhone without contacting them. With some carriers it also converts a physical SIM to an eSIM in the process.
Before you begin
Apple lists four conditions:
- You are signed in to both devices with your Apple Account.
- The previous iPhone is unlocked with its device passcode.
- Both devices are nearby with Bluetooth turned on.
- Both devices are on iOS 18.4 or later.
Connect the new iPhone to Wi-Fi as well. Apple notes that in some countries and regions, eSIM-only iPhones can activate without a Wi-Fi network, but Wi-Fi is the reliable default.
During setup of the new iPhone
If you are prompted to transfer your phone number while setting up the new phone, do it there — follow the onscreen prompts and the physical SIM or eSIM moves across. Apple notes that with iOS 26 you can transfer more than one phone number to your new iPhone, which matters if you were running two lines.
After setup
Missed the prompt? The steps work at any time:
- Open Settings on your new iPhone.
- Tap Cellular.
- Tap Setup cellular or Add eSIM.
- Choose a cellular plan to transfer from another iPhone. If you do not see a list of numbers, tap Transfer From Nearby iPhone.
- Follow the instructions on your previous iPhone. To confirm, tap Transfer, or enter the verification code that your new iPhone displays.
- Wait for the plan to activate. Activating on the new iPhone deactivates the SIM on the old one.
If a banner appears saying Finish Setting Up Your Carrier’s Cellular Plan, tap it — it hands you to your carrier’s webpage to complete the transfer.
That deactivation step is the one to plan around. The old phone loses service the moment the new one activates, so do the transfer before you wipe or trade in the old device, not after.
If your carrier does not support Quick Transfer
Apple documents several fallbacks, all carrier-issued:
- eSIM Carrier Activation — the carrier pushes the plan to your iPhone. When the Carrier Cellular Plan Ready to Be Installed notification appears, tap it, then tap Continue. Make a call afterwards to confirm connectivity.
- QR code — open the Camera app and scan the code from your carrier. When Cellular Plan Detected appears, tap it, then Continue, then Add Cellular Plan. On iOS 17.4 or later you can also press and hold a QR code received by email and tap Add eSIM.
- Carrier link — on iOS 17.4 or later, tap the link, tap Allow when Activate New eSIM appears, then Continue.
- Carrier app — some carriers handle the whole transfer inside their own app.
- Manual entry — Settings > Cellular > Add Cellular Plan > Enter Details Manually.
Coming from an Android phone
Apple’s instruction is to contact your carrier, which will transfer the number either through eSIM Carrier Activation or by issuing a QR code. There is now a direct path too: Apple states that with iOS 26, some carriers and select smartphone manufacturers support transferring your eSIM from Android to iPhone, and vice versa. Support is not universal, so check with the carrier before assuming it will work on the day.
What does not come across
A SIM or eSIM transfer moves your number, not your data. Contacts, photos, messages and apps move separately — through iCloud, a direct device-to-device transfer, or a backup restore. Voicemail is the usual casualty of a swap: messages stored on the carrier’s network may not survive, so save anything you need before starting.
Frequently Asked Questions
Can I move my SIM card from an iPhone 13 to an iPhone 16?
Only if the iPhone 16 was purchased outside the United States. Apple lists US iPhone 14 models and later as eSIM only, with no SIM tray, so a physical nano-SIM cannot be inserted. Use eSIM Quick Transfer instead, which can convert the physical SIM on your iPhone 13 into an eSIM on the new phone if your carrier supports it.
What iOS version do I need for eSIM Quick Transfer?
Apple lists iOS 18.4 or later on both devices, along with being signed in to both with your Apple Account, having the previous iPhone unlocked with its passcode, and both devices nearby with Bluetooth on.
Does transferring an eSIM disconnect my old iPhone?
Yes. Apple states that when the cellular plan activates on your new iPhone, it deactivates your previous SIM. Complete the transfer before erasing or trading in the old device, and expect the old phone to drop to Wi-Fi only afterwards.
Can I transfer two phone numbers to a new iPhone?
With iOS 26, yes — Apple documents transferring more than one phone number to a new iPhone during setup. On earlier versions, transfer the lines one at a time using Settings > Cellular > Add eSIM for each.
What if my old iPhone is broken and will not turn on?
eSIM Quick Transfer needs the old phone unlocked and nearby, so it is unavailable. Contact your carrier: they can reissue the line to the new iPhone through eSIM Carrier Activation or a QR code. If the broken phone has a SIM tray, the physical card can usually still be ejected and moved even when the device is dead.
The bottom line
Two trays means a paper clip and thirty seconds. Anything involving an eSIM-only iPhone means Quick Transfer — both phones on iOS 18.4 or later, same Apple Account, Bluetooth on, old phone unlocked and beside you. Get the transfer done while the old phone still works, because activation on the new device switches the old one off.
More on Tech2Post: which iPhones have eSIM, does the iPhone SE have a SIM card, and how to change your iPhone phone number once the line is on the new device.
Related reading: Samsung Galaxy Z Fold 8, best smartphones for trekking, Android 16 and Nothing OS 4.0, the FBI warning about smartphone messages, screenshots on iPad, and what latency actually means.
Sources: Apple — Set up eSIM on iPhone, Apple — Remove or switch the SIM card in your iPhone and Apple — Learn which type SIM your iPhone or iPad uses. Requirements, menu paths and the deactivation behaviour are taken from those documents.
